
These simple upcycled water bottle submarines are a great way to explore buoyancy, air pressure, and density. When placed in water, the bottle fills with water, pulling it down below the surface, then, by blowing air through an attached straw, the water is forced out and the submarine rises again. Not only is this a fun build, with lots of room for creativity, but kids also love to experiment with their “toy” afterwards.

One of the things I love about this project is that is clearly demonstrates that both water and air take up space — they each have volume and can be displaced. Too often kids think of air as “nothing,” or as “empty.” This shows that to be untrue.
Also, it displays the importance of density. The bottle can be filled with water or air, but only when filled with denser water does it sink. You’re filling the same exact space, but one is much heavier (i.e. it has more mass), and it is therefore a denser material.
And that leads kids to the idea of buoyancy, the ability of an object to float in water or sink. They’ll soon realize that, even when filled with water, their submarine is only as dense as the water it floats in. To get it to sink you need to add mass to the submarine to overcome the upward force of the water.
In the real world, submarines work by fluctuating between positive and negative buoyancy. When at the surface the ballast tanks are filled with air rather than water. This is called positive buoyancy. To submerge, the tanks are opened and the tanks fill with water. The submarine is then “trimmed” balancing water and air to remain at the desired depth. This is called negative buoyancy. To return to the surface pump push the water out of the ballast tanks, allowing them to fill with air once again and returning the submarine to return to positive buoyancy.

All that said, let’s get to the build! You’ll need the following materials:
- a disposable water bottle, preferably with the cap
- a drinking straw with a flexible neck
- waterproof tape (I like duct tape)
- pennies or washers
- rubber bands
- scissors
- awl or screwdriver

Start by using the scissors to place three small holes in the bottle along one side — by the neck, in the middle and near the base. These will let the water in the submarine. Start with small holes and make them bigger only if you need better flow.

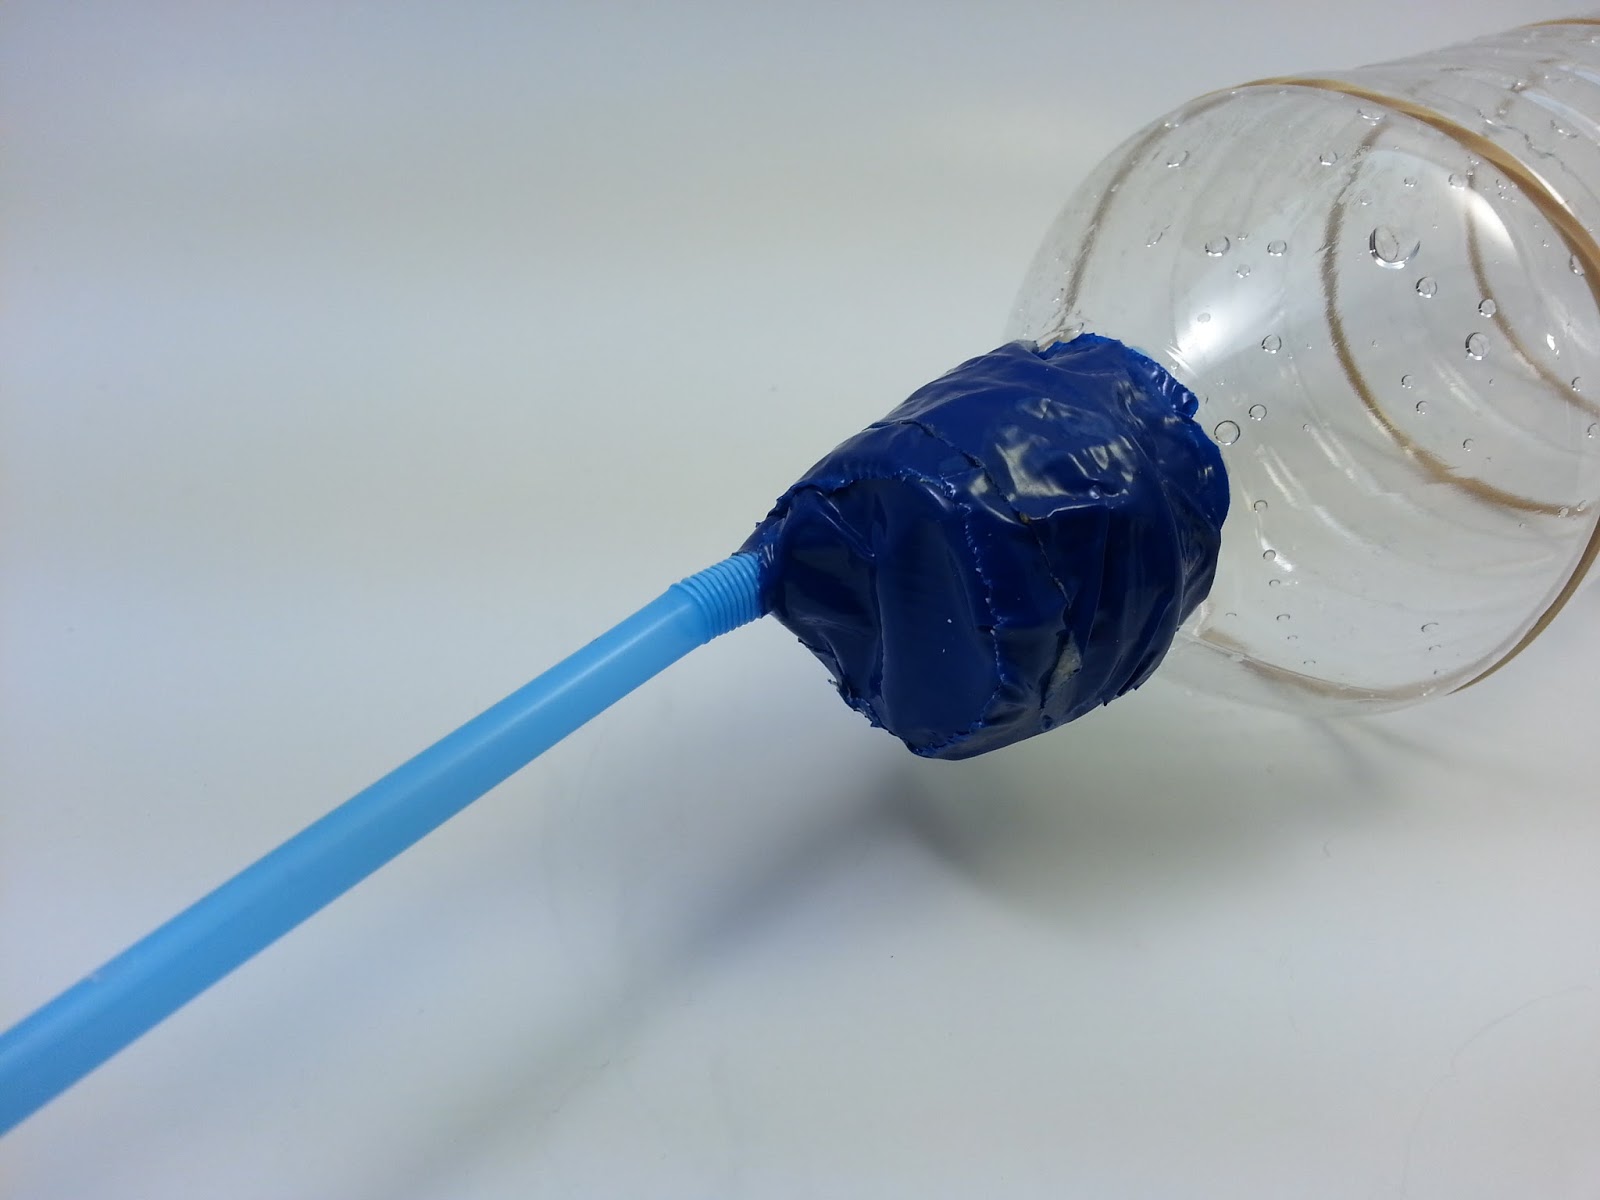
Next, attach the straw. Use the awl or screwdriver to poke a hole in the cap. place the cap on the bottle (If you have no cap, use duct tape or clay to fill the space.) Place the end with the flexible bit into the hole in the cap and secure it with tape. Be sure that the straw is attached to the top side of the bottle, opposite the holes. Bend the long part of the straw up, so that is can be used to add air. Use tape to completely seal the opening of the bottle. You want as airtight a fit as possible.


To create ballast, make a stack of pennies and wrap them in duct tape. I’d suggest starting with three stacks of five pennies and adjusting as needed. For prototyping, it’s better to make multiple small stacks and adjust them as needed. Use rubber bands to secure the pennies to the underside of the submarine, temporarily. You can attach them with duct tape later.
The goal is to add enough weight so that the submarine is pulled under the water to start filling. However, you don’t want to add so much weight that it isn’t able to resurface. Determining the right amount of ballast takes practice.
This is a great area for experimentation and exploration. How many pennies are needed to get your submarine to fully submerge? Is it even possible to get the submarine to fully submerge with just pennies? Does it matter where you attach the pennies along the body? Do you need to place an equal number of pennies in each stack? What happens if you don’t?

To test the craft, place it in water, with the underside down, and let it slowly fill with water. Once it no longer sinks, blow air through the straw and it will rise again. Once you’re happy with the number and placement of the pennies, dry off the submarine and tape the stacks of pennies on, taking care no to cover your holes.
This is a really fun project for the pool or lake. You can even let it sink to the bottom of the pool, dive in and “rescue” it from the depths. (It’s not as easy as it sounds!) Have fun!

Pingback: How To Build A Remote Control Submarine – ussjpkennedyjr.org