
This project was originally published on Make: Projects.

Use origami to fold a cute ladybug. Then add a small vibrating motor so that is skitters around. This is a really fun, easy variation on a vibrobot.
What You’ll Need
- Origami paper, one sheet, red
- 3-volt coin battery (CR2032 or CR2025)
- Maker Tape or ¼-inch copper tape with conductive adhesive
- 1 vibrating motor, DC 3V 10 mm coin style
- black permanent marker
- google eyes (optional)
- glue stick (optional)
All of these materials are available as part of the Make: Origami Paper Circuits Kit.

First Folds: Orient the paper so that it forms a diamond. Fold the bottom point to the top point and crease well. Fold the left point of the triangle to the right point and crease well. Unfold.


Fold the Wings: Fold the left point of the triangle up to the top point of the triangle. Repeat on the other side. Then take the left point and fold it downwards to the bottom point, angling slightly away from the center. Repeat with the right point.


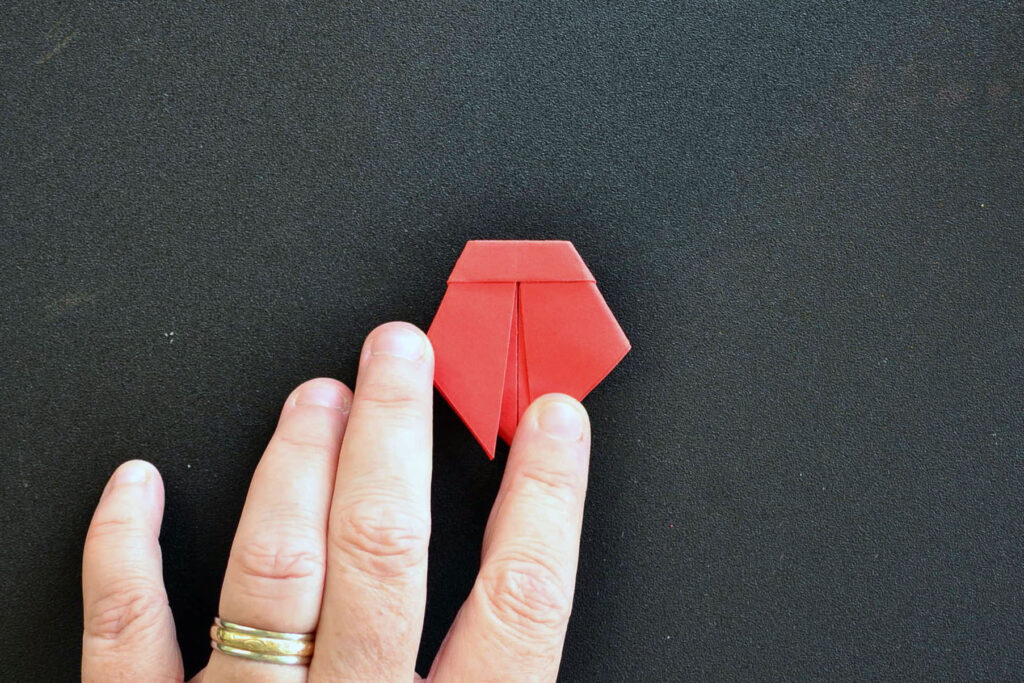
Fold the Head: Fold the top point down towards the bottom point, but do not fold at the center. Instead, make the crease 1/4″-1/2″ above center (6-12mm). Unfold. Fold the top point to the crease you just created. Fold the top again to the crease you created. Fold the top one final time along the crease.


Shape the Body: Fold back the left and right sides to create an oval shape. Then fold the left and right edges again to make the body less angular. Fold the tips of the wings under, if desired. Use a black permanent marker to color the head and add dots.


Add the Motor: Flip the ladybug. Remove the adhesive covering and stick the motor to the center of the ladybug. Put the motor as close the head as possible while ensuring that the wires can still reach the top of the bug.


Wire the Positive Lead: Gently lift the wings on the top of the ladybug. Pull the red lead of the motor to the top of the bug and gently fold it so that the exposed wire rests on the inside of the ladybug, a little to the left of center. Place a piece of maker tape on the inside of the body, horizontally across the center, taking care to catch the wire of the red lead under the tape.


Wire the Negative Lead: Gently pull the blue or black lead to the top of the ladybug. Using a piece of maker tape, attach the blue lead to the underside of the right wing. The tape should run as close to the outside edge of the wing as possible, all the way from the head to the tail.
Add the Battery: Slip the battery into the space between the body and the wings. Make sure the positive (smooth) side is facing down towards the body. Gently press the ladybug together. It should vibrate. Adjust the battery and the bug as needed for good contact, i.e. fold the wings down and use the tip folded under the body to adjust the negative lead. If desired use a loop of maker tape, folded so that the adhesive is facing out, to attach the battery to the inside of the body.


Add the Google Eyes: Use the glue stick to adhere google eyes to the head of the ladybug.
For more fun check out my Maker Camp Live video above with this project and others. Or check out The Big Book of Maker Camp Projects for over 100 other fun activities from crafting to coding.