
I can admit it. I have a mild obsession with paper snowflakes. I always have. As a kid, I would spend a lot of time and a lot of paper carefully cutting them out each winter. To be honest, was always disappointed with the results.

I never got a lovely, lacy, symmetrical 6-pointed snowflake. It was so disappointing. I wanted a paper snowflake that was like REAL snowflakes. Real snowflakes are usually 6-sided or 6-pointed.
Why? Science! The shape of the water molecule itself and the way it bonds to other water molecules are the keys to the shape of snowflakes. As snowflakes crystallize the molecules align themselves to make the bonds as strong as possible between molecules. The triangular molecular shape determines the hexagonal shape, as the tiny particles click into place much like making a mosaic or laying tile. (Learn more!)

It wasn’t until I had children of my own that I went in search of the perfect 6-pointed paper snowflake methodology. What I discovered was that the folding technique makes ALL the difference. You need to fold in thirds!
The point is, I now take every opportunity I can to teach kids how to make “scientifically accurate” snowflakes. Luckily there is now an excellent Instructables on the topic that takes you step-by-step through the process. Once you get the hang of it, you can create ever more intricate designs by using thinner paper and sharper scissors.
Finally! The 6-pointed snowflakes of my dreams were attainable. I loved folding and making snowflakes so much that it quickly became a geometry lesson for my math students, as we reviewed our vocabulary for angles.
But wait! There’s more!
Several years ago, I discovered the work of Anthony Herrera. He’s a graphic designer that created templates to fold and cut intricate Star Wars themed snowflakes. Genius! But he didn’t stop there! He created Harry Potter snowflakes, Frozen snowflakes, and even Guardians of the Galaxy snowflakes. I was hooked.
And then I decided to go a little crazy. I wanted to decorate my library makerspace with a 1980s theme for the holidays. I made Arduino-powered Stranger Things Christmas lights the spelled out messages, hung old-fashioned big bulb lights on the windows, and dug out my old decorations from childhood.
Then I got it in my head that I should put Star Wars snowflakes on all the windows too. But my makerspace has massive windows and lots of them. How could I make enough snowflakes to fill them without spending my entire month cutting them out?
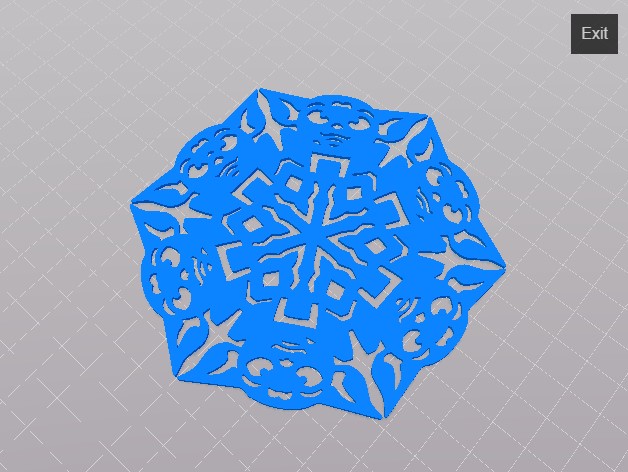
Luckily I was poking around Thingiverse and discovered the work of Aaron Roberts. He’d take Herrera’s templates and used them to create files for 3D printing. In addition to sharing the STL files, he also shared the SVG vector graphics, which can be used with digital craft cutters like the Silhouette or Circuit. So I downloaded my favorites and got to cutting! I just used common copy paper and before long my windows were filled with Luke, Leia, Darth Vader, and Yoda!
For 2019, I wanted to do a Frozen theme for my makerspace. Sadly, no one had converted Herrera’s designed into SVGs, so I set out to do so. It took a little time in Photoshop, but now I have collections for Frozen, Harry Potter and The Mandalorian available for everyone to enjoy. Soon I’ll have a Dr. Who collection and Marvel collection available as well.
So, go make some paper snowflakes. I’d love to see what you create!